Sicklerville, NJ
Bedroom Wall Repair and Repaint
About this project
"Knock down the peaks and fill the valleys."
That is the best way I can describe my process for performing wall repairs, and it has become my new mental model for thinking about repairs.
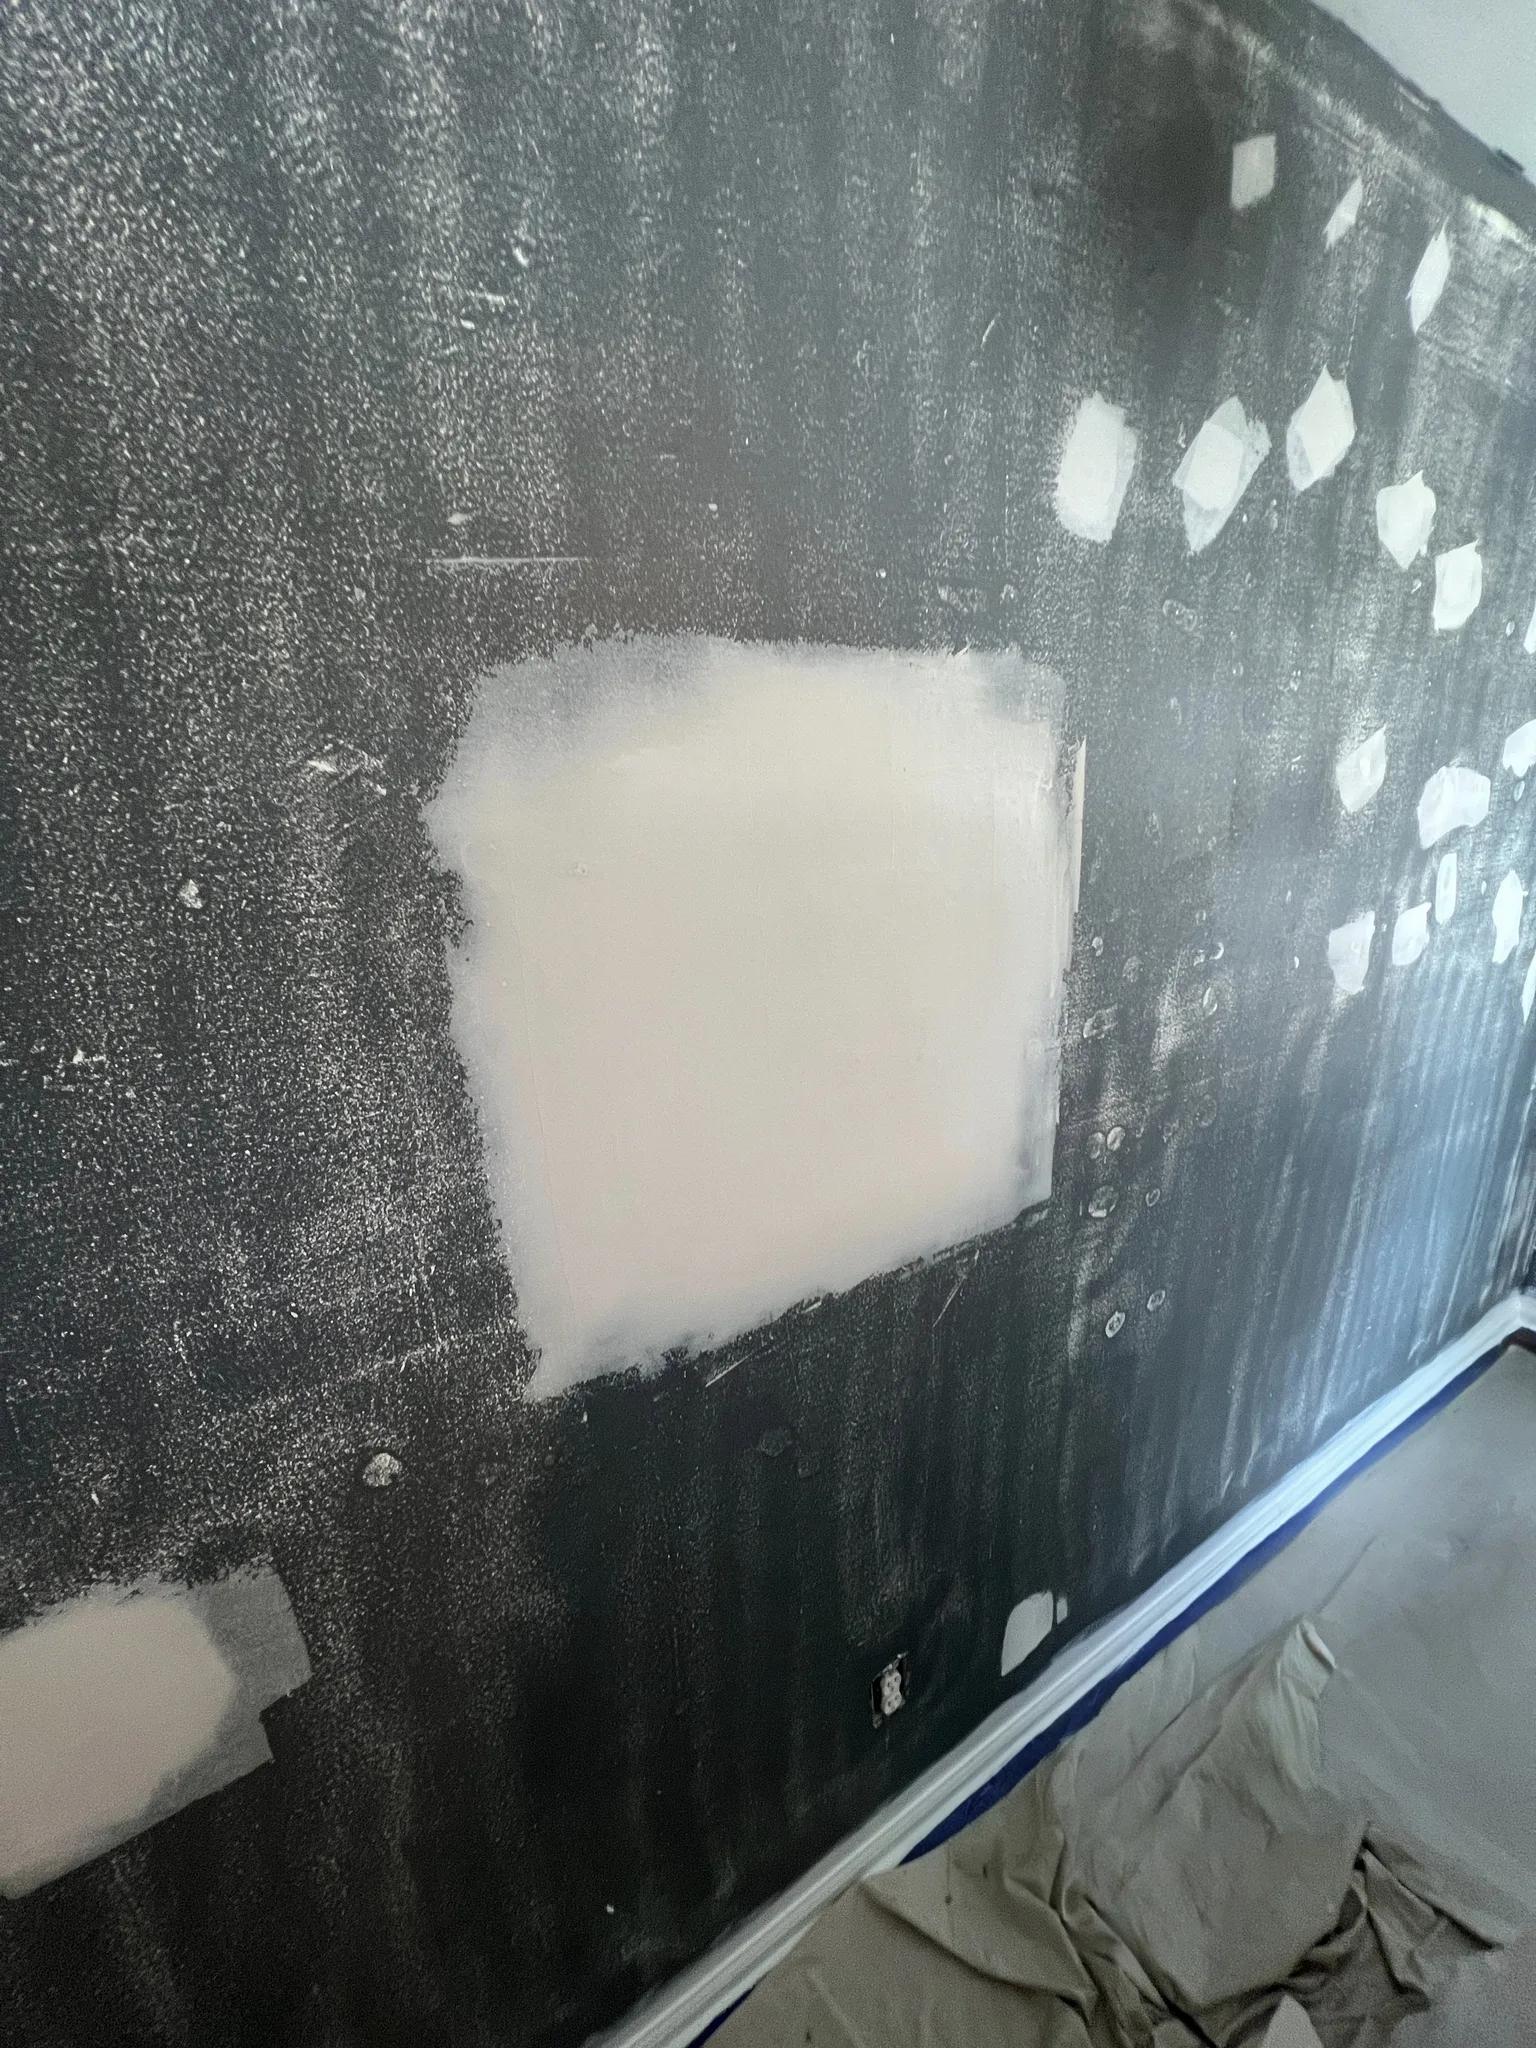
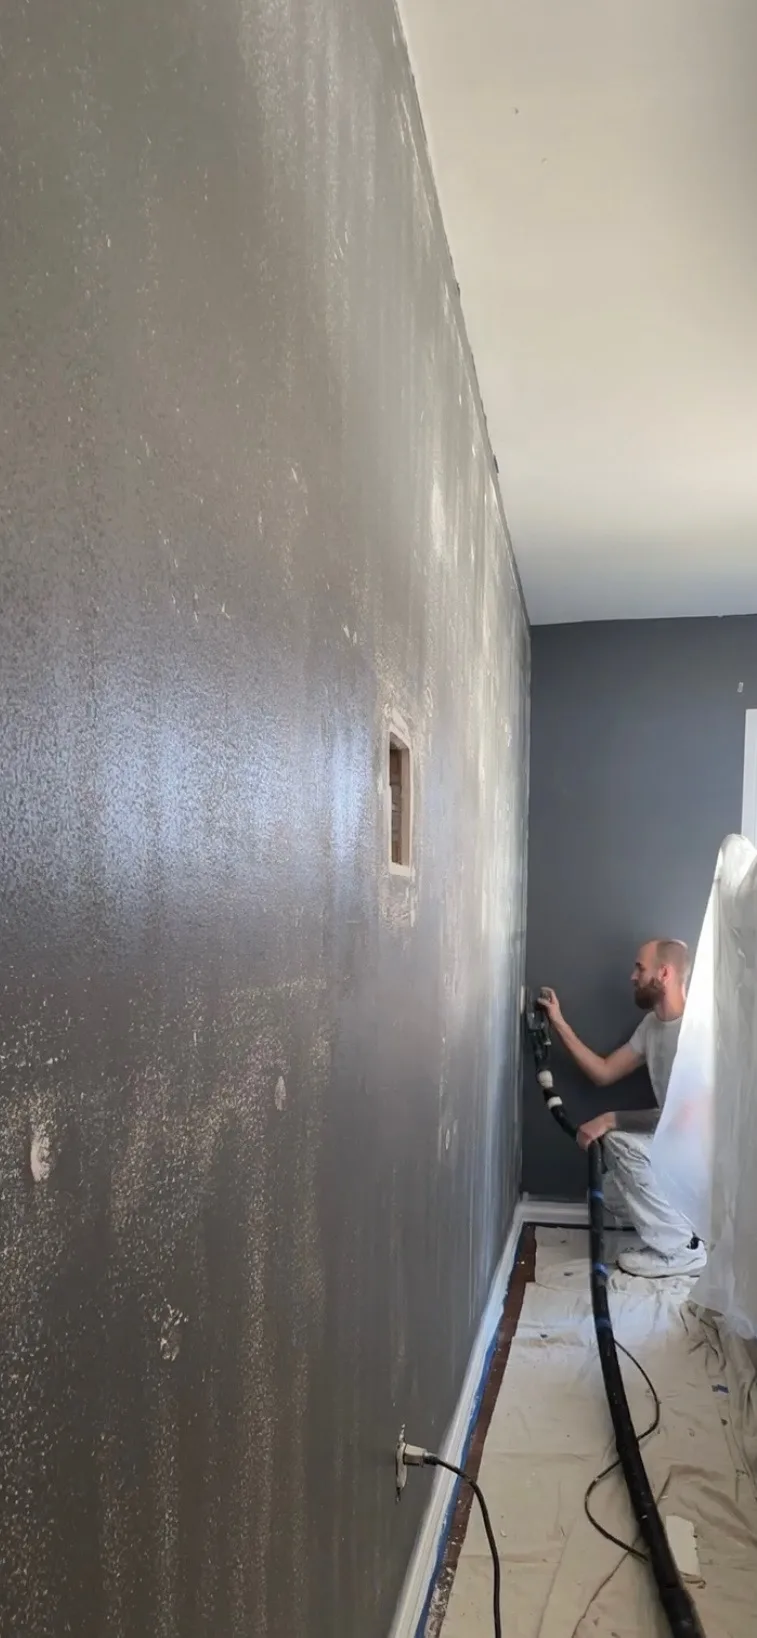
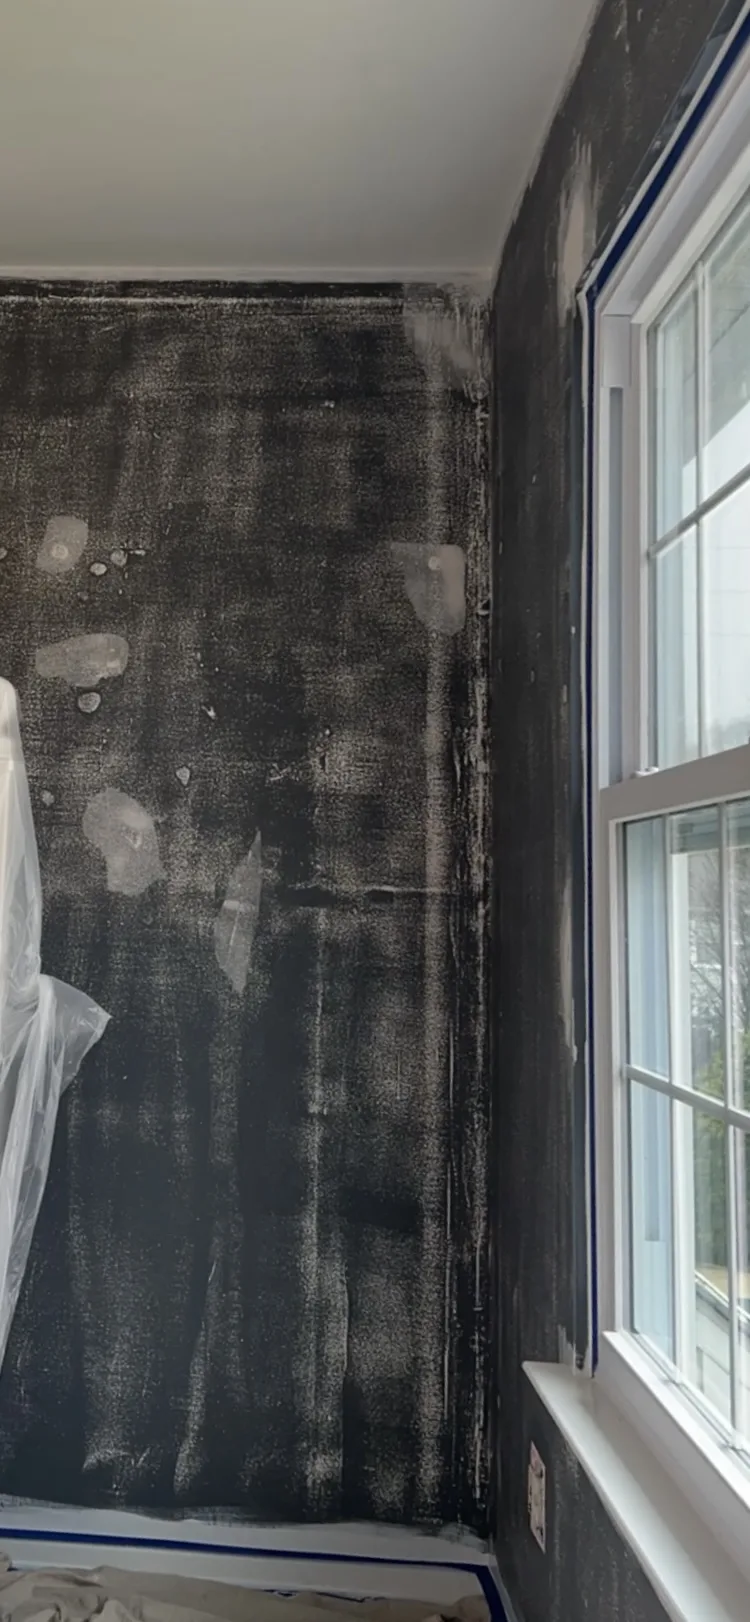
If you look closely at the photos, you’ll see little white dots and areas of noise surrounded by the darker color. Every section of white dots—or non-dark main color—represents peaks that I successfully knocked flat using my nearly dustless Festool sander with a HEPA dust extractor.
In the areas that were sanded, where the darker color remains, you can think of those as the valleys. They were not necessarily excessive valleys on this project, but valleys nonetheless.
The overall look and texture of the wall after sanding always gives me a clear view of which areas really need joint compound and spackle.
For this project, I sanded every inch of the walls to knock down the peaks. I then performed a few drywall patches using my "California patch" method, followed by two passes of spackle repairs to address the major valleys and imperfections. After that, I sanded everything again with fine-grit sandpaper to prepare the walls for primer and paint.
Story time behind this project: This was for a client I’ve worked with since my first year in business in 2017. I painted this room for the first time when he bought the house, and it went smoothly and turned out great.
Years later, the room received what I jokingly call a "DDIY" paint job—a daughter-doing-it-herself kind of project—which left behind some imperfections and overcut lines. Eventually, the time came for the room to be repainted, and I jumped at the opportunity to give it the TLC it deserved and get it back to a clean slate.
Your home next
Planning something similar?
Share photos and timing — Nick reviews every estimate personally.